I have been searching for a jewelry box for a while now but have not been able to find anything suitable. So, I decided to take it into my own hands....And a DIY was born! The best part is that with a coupon I spent less than $30 on the materials but the end result looks like I spent way more.
Materials:
-Adhesive of some sort
-Paint Brush
-Ruler
-Scissors
1. Paint the jewelry box and let dry, put another coat if necessary.
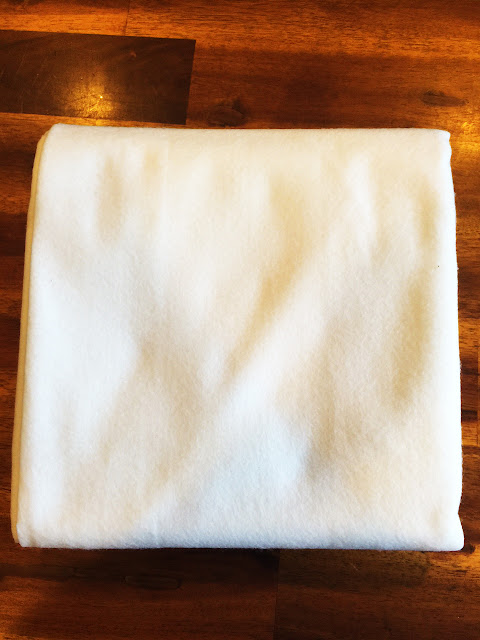
2. Measure the length and width of the squares inside the box. Double the width measurement and cut the felt accordingly. Roll the felt and make sure it sits in the rectangle comfortably with no creasing. Cut enough of the felt for 3 rolls per section.
3. Next, start cutting the fabric. Use the same measurements as the felt but add a little more to the length to fully cover the felt on the sides. Cover the felt in the printed fabric and arrange into the jewelry box. Take the ruler and push the excess fabric on the sides down to hide it.
4. Measure the length and width of the inside of the drawer, cut the fabric, add a small amount of adhesive and lay in the fabric.
And your jewelry box is complete!
I am able to fit a portion of my earrings, watches and bracelets that I wear everyday in it, which is great because everything is visible to easily pick out every morning!
XOXO


Your jewelry box and fabric already looked pretty on its own, but with the addition of pieces of jewelry and wow, it became prettier by a mile! It really served its purpose. Amazing colors and design by the way, the “rustic-ness” of it simply highlighted all your jewelries. Thank you for sharing your simple yet pretty work!
ReplyDeleteRicky Rowe @ Find A Jewelry Expert
Thank you for the compliment! It was so cheap/easy/fun to make! I love little projects where you can make something completely your own, making it unlike anything that you can buy!
ReplyDelete