Pages

Thursday, July 30, 2015

Tank Top DIY

We all have clothes in our closet that we skip by day after day and never wear. So why not take those pieces and create something completely new?! This DIY will refresh your closet with a new and unique top that will not cost you a cent! This is especially good if you shrunk a top in the dryer (oops!) or it just does not fit you anymore for whatever reason. 

Step #1: Pick out the top that you are going to repurpose as well as the fabric from another garment.

I chose the repurpose these pants.

 Step 2: Cut down the side seams of your top.

Step 3: Measure the length of the side seam to make sure you cut the fabric panels long enough. 

 Step 4: Pin two layers of the fabric together (in my case it was pants so I just pinned both layers). This way you can cut once and get both pieces the same exact size. 

 Step 5: Draw lines to make sure you cut straight. Don't worry if the lines are visible after you cut, they will not be after you sew the panel in. 

 Step 6: Cut. Cut the panels thicker or thinner depending on how much you want it to show. It is okay if they are too long. You can cut the extra fabric off the ends after you sew.


 Step 7: Pin down the fabric to the side seam(s) of the top and sew. If you don't have a machine you can also do it by hand. One by one pin and sew until all four seams are sewn! If the fabric you are using has a print and it is only on one side make sure you lay it and pin it correctly for the print to be facing out and the seam facing in. Also sew along the hem to reinforce and hold the fabric in place. 

There you go! Enjoy your brand new custom made shirt that did not cost you anything!


XOXO


Wednesday, July 22, 2015

Drunk on You and High on Summertime

My favorite summer time activity is getting together with friends for dinner and drinks. And this past Saturday that is exactly what I did! It was so hot that I wanted to be casual and comfortable and this was the perfect outfit. I love this top because it is a fun twist on the cold shoulder look we all know and love. The skirt has pockets and the fabric is so soft, it would match many tops already in one's wardrobe. Add your favorite accessories and you have an outfit that is perfect all summer long! Click the links below to purchase this look!


Thank you for the photos Erin Batton Photography!

XOXO


Thursday, July 16, 2015

Cause Baby Now We Got Bad Blood

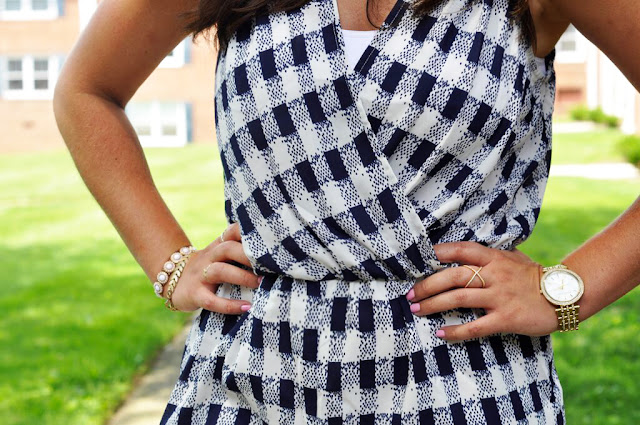
I went to Nationals Park for Taylor Swift's concert with some friends and it was a great night! She is such an amazing performer and really puts on quite a show. If you ever get the chance to go to one of her concerts I would highly recommend it!! This romper I wore was so comfortable and perfect for the occasion because it was lightweight on a warm night! It has the cutest details like the wrap top and the ruffle hem. The price point is so low that it is such a great buy because it is on sale! Click the links below to purchase. 


If you were not able to make it to the concert below are some videos of my favorite performances!! Lorde was the surprise guest and they sang Royals, it was perfection!


Thank you Erin Batton Photography for the photos :)

XOXO

Wednesday, July 8, 2015

In My Make-Up Bag

It has taken me some time to find make-up that really works for me but I have finally found products that I am loving for different reasons. So I wanted to share some of it with you all!

 I can get up and get out the door very quickly without too much fuss while still looking natural and put together, which is really important to me. I am not the type to put on a lot of heavy makeup for my everyday life but I do like to make sure I am presentable at all times. 

If you have been on the search for concealer, bronzer, blush, contour or finishing powder...I highly recommend all of these! Click the links below the photo to check the products out!


XOXO!

Tuesday, June 30, 2015

Red White and Denim

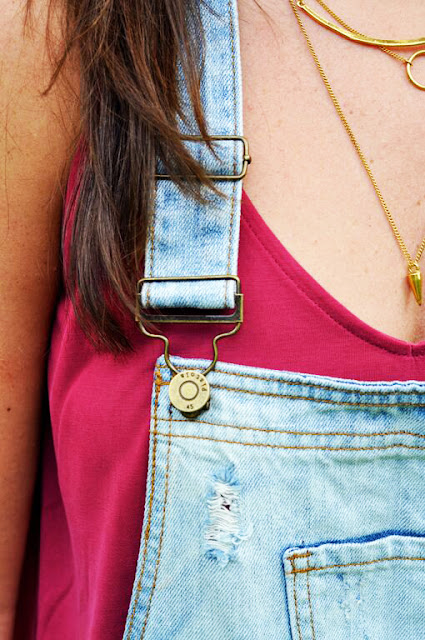
I am loving that overalls are making a comeback. They are so comfortable and easy to pair with anything in your closet. I added a red tank underneath and added blue and white espadrilles for the 4th of July. If you are bbq'ing with friends and family this weekend this is the perfect look for you. Click the links below to purchase any of these pieces. 


*Home of the Free because of the Brave--thank you to all who serve*
Hope you have a great holiday! 


Wednesday, June 24, 2015

DIY Jewelry Box

I have been searching for a jewelry box for a while now but have not been able to find anything suitable. So, I decided to take it into my own hands....And a DIY was born!  The best part is that with a coupon I spent less than $30 on the materials but the end result looks like I spent way more. 

Materials:


-Adhesive of some sort
-Paint Brush
-Ruler
-Scissors

1. Paint the jewelry box and let dry, put another coat if necessary. 

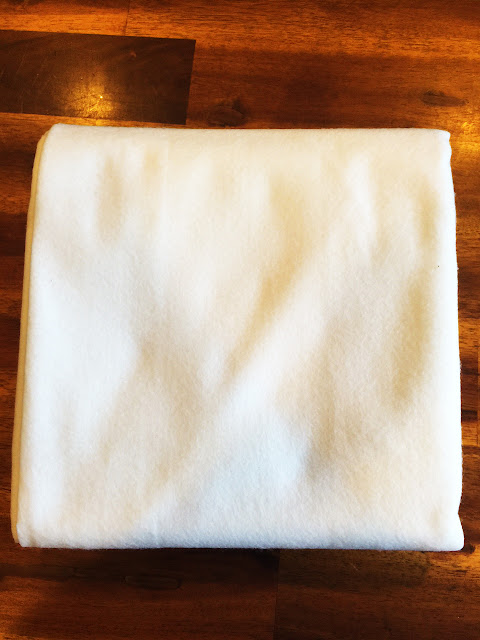
2. Measure the length and width of the squares inside the box. Double the width measurement and cut the felt accordingly. Roll the felt and make sure it sits in the rectangle comfortably with no creasing. Cut enough of the felt for 3 rolls per section. 

3. Next, start cutting the fabric. Use the same measurements as the felt but add a little more to the length to fully cover the felt on the sides. Cover the felt in the printed fabric and arrange into the jewelry box. Take the ruler and push the excess fabric on the sides down to hide it. 

4. Measure the length and width of the inside of the drawer, cut the fabric, add a small amount of adhesive and lay in the fabric. 

And your jewelry box is complete!


I am able to fit a portion of my earrings, watches and bracelets that I wear everyday in it, which is great because everything is visible to easily pick out every morning! 

XOXO